Torch-on waterproofing is a popular method for protecting flat roof decks. It involves using a bitumen-based membrane, which is heated with a torch to adhere it to the roof surface. Here’s a step-by-step guide for carrying out torch-on waterproofing repairs to a flat roof deck:
Materials and Tools Needed:
- Torch-on bitumen membrane rolls
- Propane torch
- Utility knife
- Measuring tape
- Roller or heavy brush
- Broom or blower
- Safety equipment (gloves, safety glasses, fire extinguisher, etc.)
Steps for Torch-on Waterproofing Repairs:
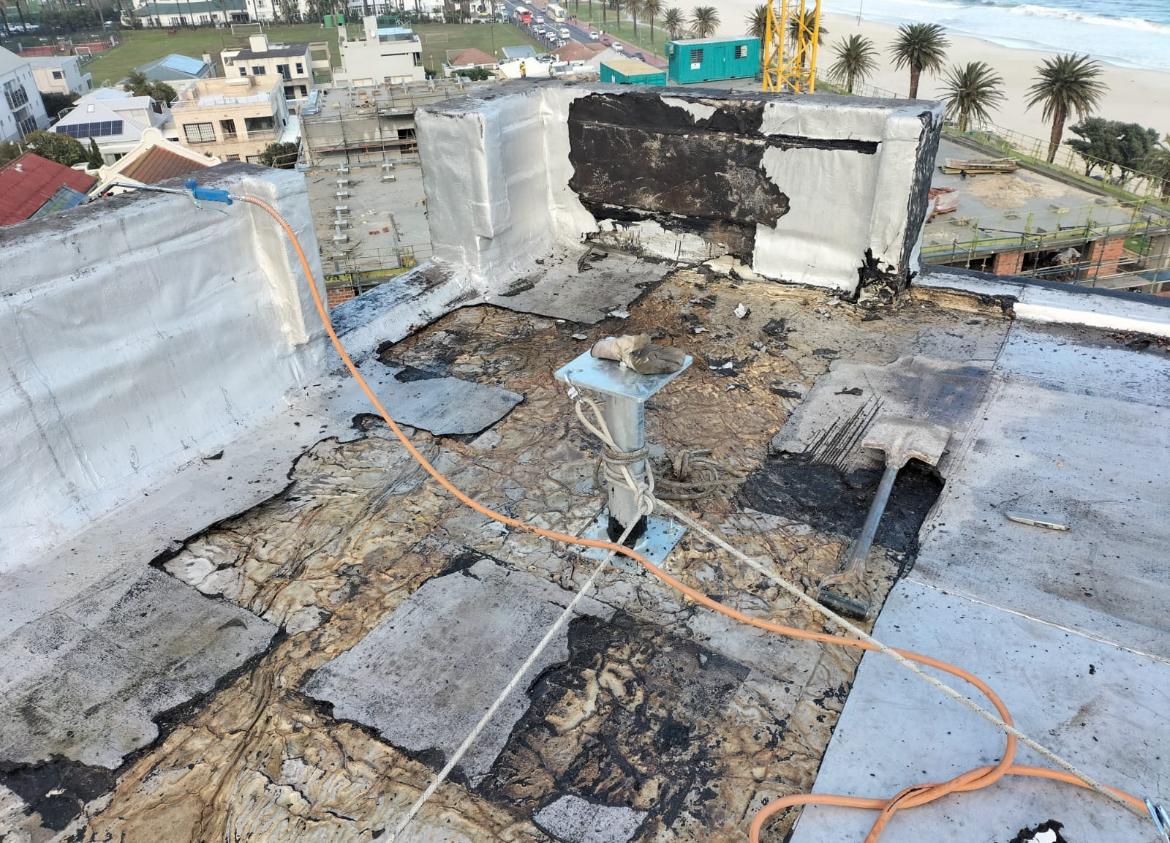
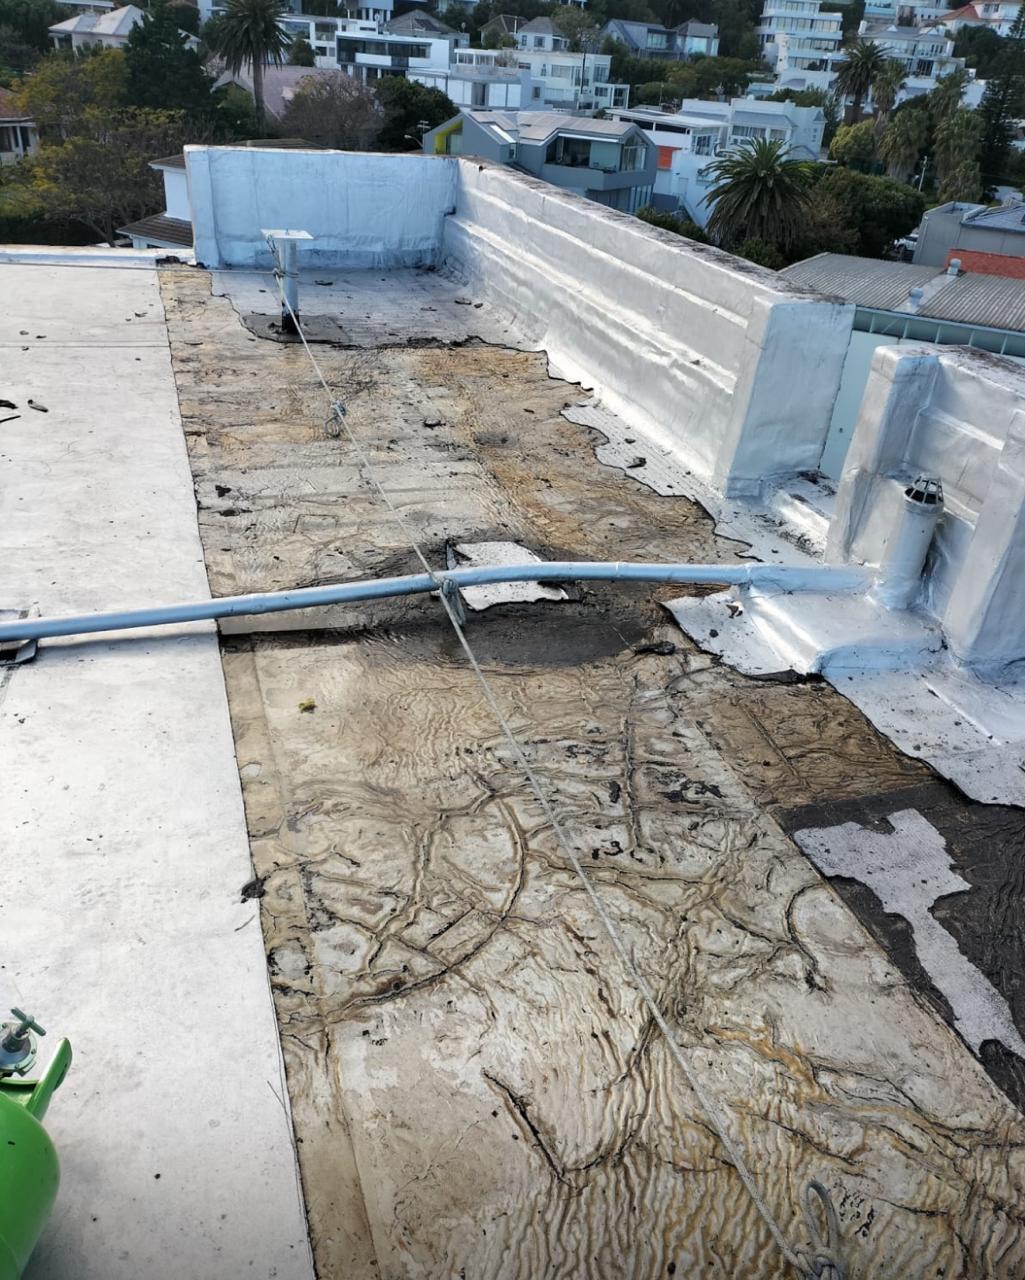
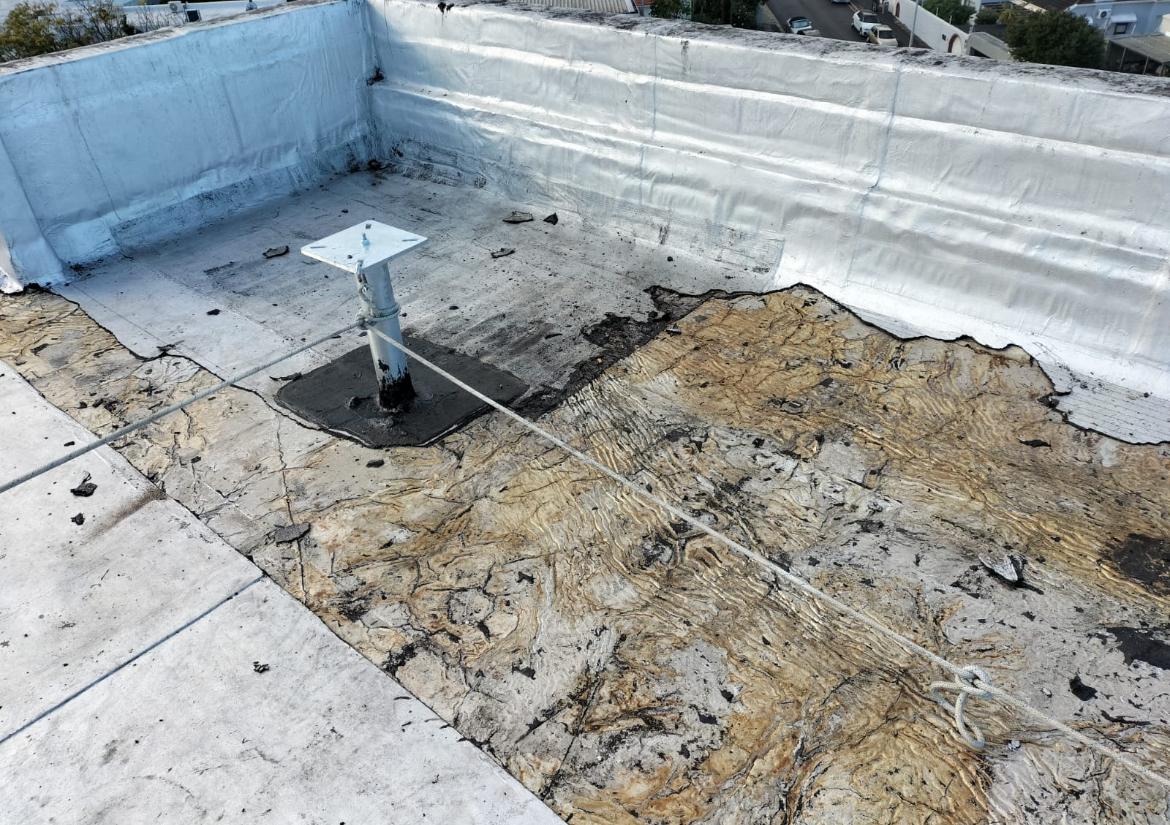
1. Inspection and Preparation:
- Inspect the Roof: Assess the roof to identify areas needing repair and ensure the structure is sound.
- Clean the Surface: Remove any debris, dirt, or loose material using a broom or blower. Ensure the surface is dry and clean.
- Remove Old Membrane: If repairing an existing membrane, cut away the damaged areas using a utility knife.
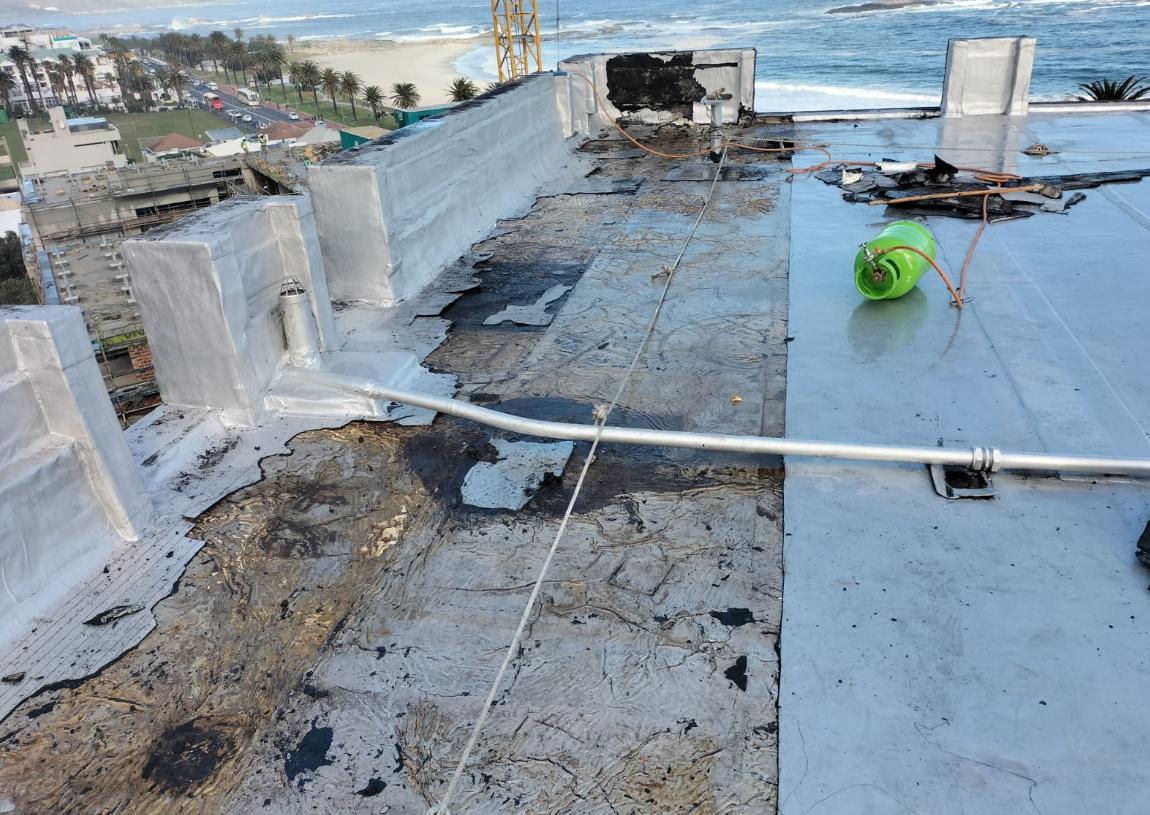
2. Cut and Position the Membrane:
- Measure and Cut: Measure the area to be repaired and cut the bitumen membrane to the required size, allowing for overlap at the edges.
- Position the Membrane: Lay the membrane on the roof, positioning it to cover the repair area with sufficient overlap on all sides.
3. Heating and Adhering the Membrane:
- Heat the Membrane: Using the propane torch, heat the underside of the bitumen membrane. Work in sections, heating the membrane until it becomes tacky.
- Adhere to the Roof: Press the heated membrane onto the roof surface, ensuring it adheres firmly. Use a roller or heavy brush to smooth out the membrane and remove any air bubbles.
- Overlap Seams: Ensure that seams between membrane sheets overlap by at least 4 inches (10 cm) and are properly heated and adhered to create a watertight seal.
4. Finishing the Edges:
- Seal the Edges: Pay extra attention to the edges and corners, ensuring they are well-adhered and sealed. Use the torch to heat and press down the edges firmly.
- Inspect for Gaps: Check for any gaps or unsealed areas and reheat and press them as needed.
5. Final Inspection and Cleanup:
- Inspect the Repair: After the membrane has cooled, inspect the entire repair area to ensure there are no gaps, bubbles, or loose edges.
- Cleanup: Clean up any debris and ensure the work area is tidy.
Safety Precautions:
- Protective Gear: Wear gloves, safety glasses, and other appropriate protective gear.
- Fire Safety: Keep a fire extinguisher nearby and be cautious with the open flame. Avoid overheating the membrane or the roof deck.
- Ventilation: Ensure good ventilation, especially when working with torches in enclosed areas.
Maintenance Tips:
- Regular Inspections: Conduct regular inspections of the roof to identify and repair any potential issues early.
- Clean Gutters and Drains: Ensure gutters and drains are clean and free from debris to prevent water buildup.
- Prompt Repairs: Address any damage promptly to prevent it from worsening and compromising the waterproofing.
By following these steps and safety precautions, you can effectively carry out torch-on waterproofing repairs to a flat roof deck, ensuring a durable and watertight surface.